In
this post, I showed you a neat little sketchbook Curly Girl had made in her art class at school.
She was told to 'fill it up' with drawings over the summer break and then take it back to school and show the art teacher.
I had a few people that were interested in learning how to make them so I did this tutorial for them. It is best to read through this tutorial because it can be tricky. Folding the paper and pressing it down while wet, etc. If you can remember how you folded a 'fortune teller' from when you were in school, it helps because the diagonal fold is the part that makes this work.
You will need:
colored mat board or other thick board for the front and back of the sketchbook
white lighter weight mat board for the decorated part of the front and back (or heavy weight sketch paper)
several sheets of medium weight sketching paper (we used 7)
glue
ribbon
scissors
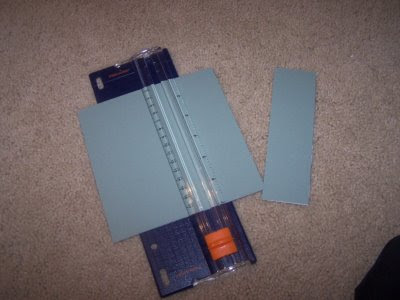
paper trimmer
double sided tape (optional)
ruler
To begin:
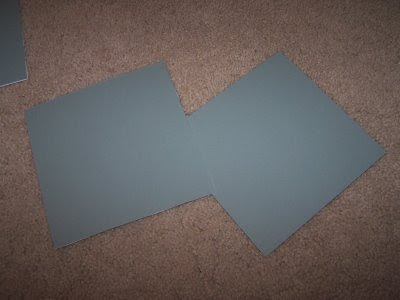
Cut 2 pieces of the heaviest weight mat board into the size you like. We did a 6 X 6 inch square.
These will be the front and the back of the sketchbook. Set aside.
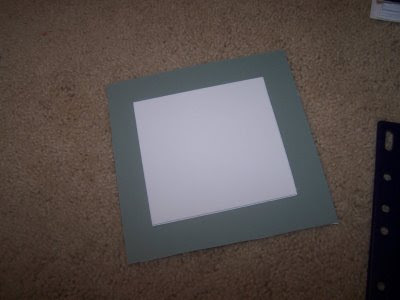
Next cut 2 pieces of the white mat board into smaller squares to fit inside the cover pieces. We did 3.5 X 3.5 inch square. See how it fits inside the colored mat board.
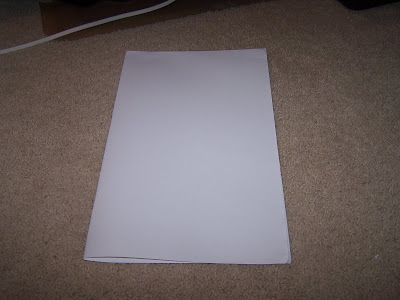
Next tear out several pieces of the sketchbook paper. (we used 7)
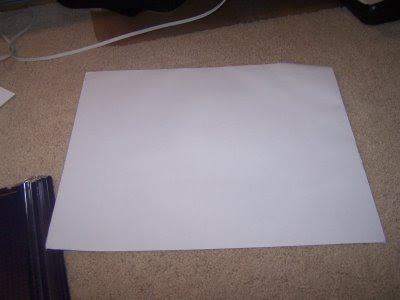
You will need to cut all pieces to fit the book. Don't cut them until you fold them.
Fold them side to side first.
Then fold up one more time.
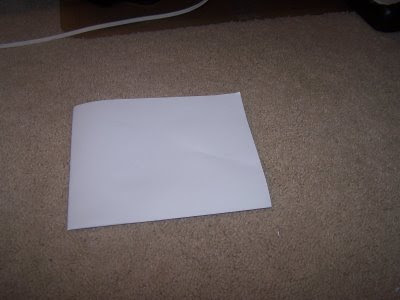
Then measure them to determine how much you need to cut from 2 ends.
DO NOT CUT THE FOLDED EDGES.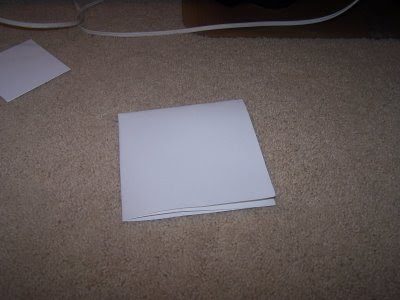
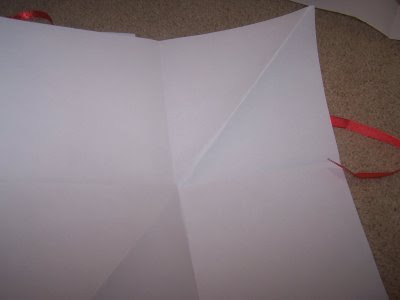
Next open each page up and take one corner and fold it DIAGONALLY across to the other side.
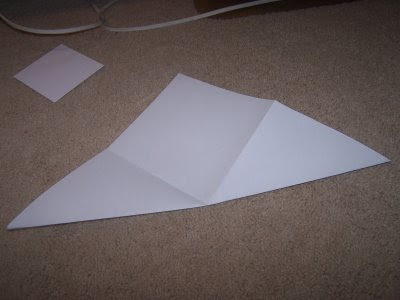
All folds should be made the same way as they have to fold in on each other throughout the sketchbook.
Make sure you lay the paper down with the diagonal creases facing up and running in the same direction. (It doesn't matter which direction you choose. Ours ran right upper corner toward lower left corner.)
See how the crease itself faces UP. That is important because of the way the pages fold in on themselves.
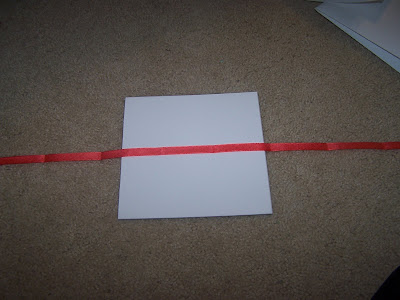
Next, cut your ribbon about 30" long. Lay the ribbon pretty side DOWN on the wrong side of the colored mat board.
Glue the ribbon down. Let dry
Once dry, apply glue on TOP of the ribbon for your first sheet of sketchbook paper. Smooth the glue out to the edges with a piece of scrap paper first.
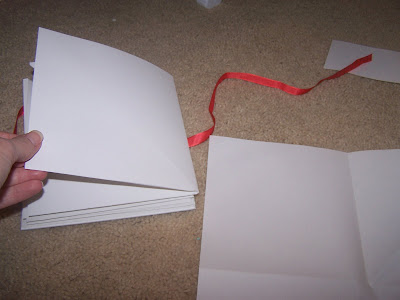
Next take your first piece of folded sketch paper and glue one of the flat corners (the one without the diagonal crease running through it.) down on top of the ribbon. Let dry.

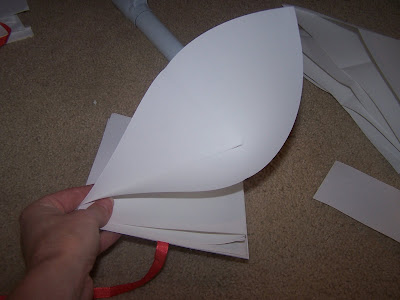
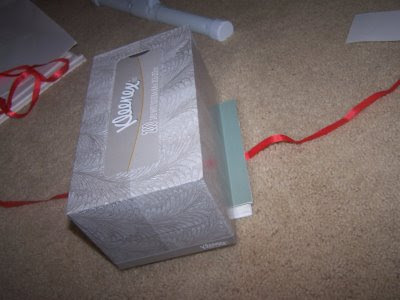
In the next photo, see how I'm pinching the folds so the page will lay down properly. You take your right hand and press the open flap down and will make your 'next' page that way. (It is sort of like when you wrap a present and fold the ends in on themselves.)
One dried, the rest goes fast. You can use glue for the rest of the pages but I found that double stick tapes works well too.
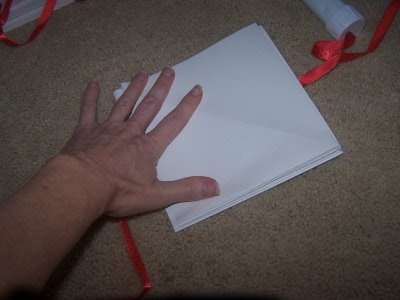
Starting with the first page that has been glued down. Fold that page down. The corner that is facing up is the corner you attach the next sheet to. You will put tape on it. (or run a bead of glue) Pre fold the paper again and then press it down on TOP of the tape/glue.
In this next photo you can see how my thumb is on the 'bottom' sheet and the next 'top' sheet is
to the right.....Above my right thumb, you can see how the sheet folds in on itself like an accordian.
Continue doing this until you are done with all pages of the sketchbook.
Don't worry if the pages are not PERFECTLY aligned. You don't see it once the mat boards are in place.
Once done, take your other piece of colored mat board place it face down. Run a bead of glue and glue the LAST page of the sketchbook to it. I use a piece of scrap paper to smooth the glue out first.
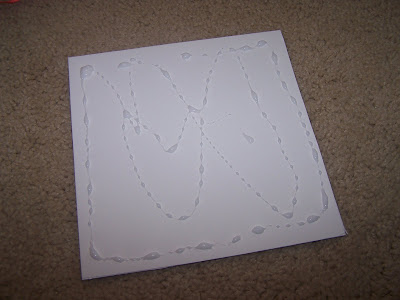
Set something on top of it and let it dry.
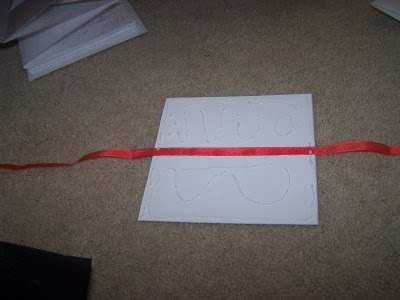
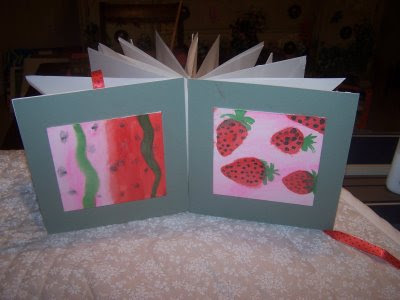
Next, have someone( I asked Curly Girl) paint something lovely on the 2 pieces of white mat board. Once dried, glue them to the colored mat board. Then you can tie it up with the ribbon.
Since this is reversible, you want both sides to be pretty.
That's it! Now you are ready to start sketching.


 Then measure them to determine how much you need to cut from 2 ends. DO NOT CUT THE FOLDED EDGES.


 Once dry, apply glue on TOP of the ribbon for your first sheet of sketchbook paper. Smooth the glue out to the edges with a piece of scrap paper first.
 In the next photo, see how I'm pinching the folds so the page will lay down properly. You take your right hand and press the open flap down and will make your 'next' page that way. (It is sort of like when you wrap a present and fold the ends in on themselves.)